m ((username removed) (log details removed): Moving to Training namespace) |
No edit summary |
||
| Line 121: | Line 121: | ||
[[File:Turnkey on premise image 25.png|frameless]] | [[File:Turnkey on premise image 25.png|frameless]] | ||
The MDriven Book - See: [[MDriven Turnkey Architecture]] | The MDriven Book - See: [[BestPractices:MDriven Turnkey Architecture|MDriven Turnkey Architecture]] | ||
[[Category:The MDriven Book]] | [[Category:The MDriven Book]] | ||
[[Category:MDriven Turnkey]] | [[Category:MDriven Turnkey]] | ||
Latest revision as of 06:21, 3 April 2024
There can be several reasons for running the MDriven Turnkey software on premise rather than in the cloud - and it is easy to achieve.
To run MDriven Turnkey on your own IIS, do the following:
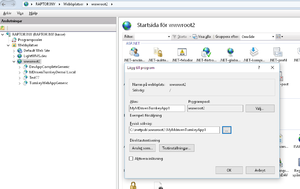
1. Create a new IIS application:
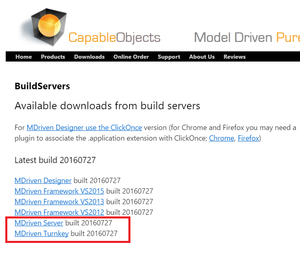
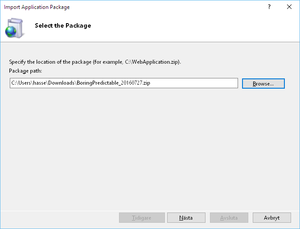
2. Download these application packages, MDriven Server and MDriven Turnkey:
3. Make sure you understand how to make the IIS server use https and how you can either self-sign or acquire your own certificate. This is key for making the internal WCF communication in MDriven Turnkey work.
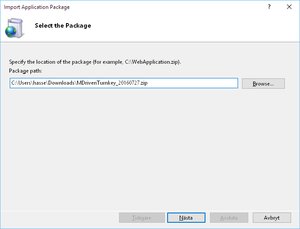
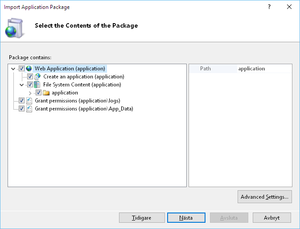
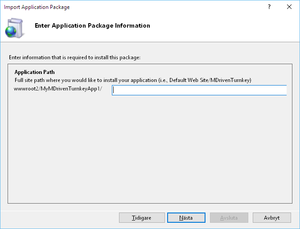
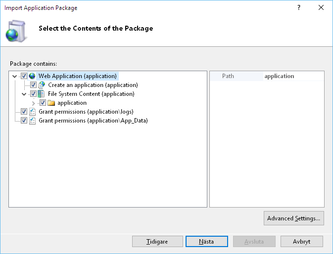
4. Import the Application Package for MDriven Turnkey into your IIS app:
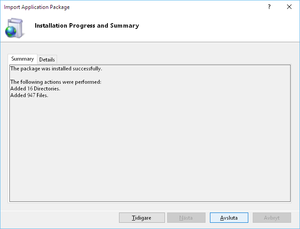
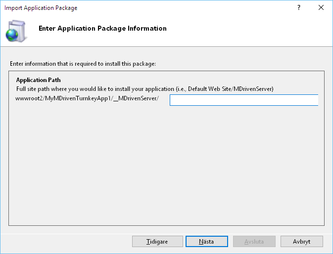
Now import the package for MDriven Server into your first application:
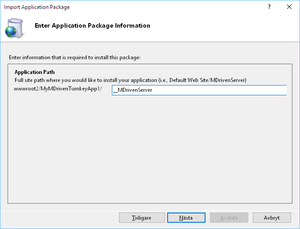
Name the application __MDrivenServer – with two underscores:
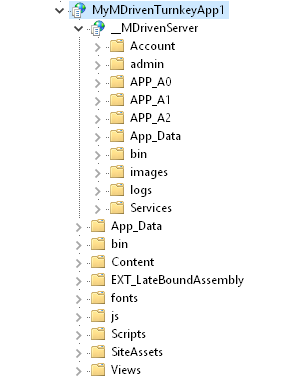
In the end, you will have this:
Configure for https (not described in this book – IIS-specific knowledge)
Notice the __MDrivenServer/logs catalog; things will work better if your application can access this. Find it in File Explorer and give read/write access to “IIS AppPool\NameOfTheAppPool”.
To configure your system navigate to the __MDrivenServer application: https://localhost/MyMDrivenTurnkeyApp1/__MDrivenServer/
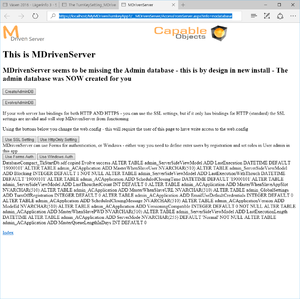
You should see this:
This is the server’s response to not finding the expected database. It creates it and sets things up to the best of its ability. Click Index to go back to the default page:
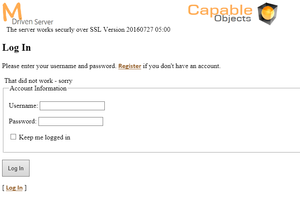
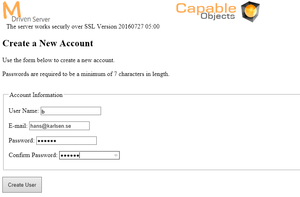
We are prompted with a login – but we need to register a user that the MDriven Turnkey app will use to access the MDriven Server. You will also want to access the MDriven Server in order to upload and evolve models – so create a user “b” and remember the password:
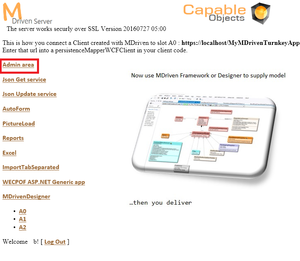
Now, log into MDriven Server with this user:
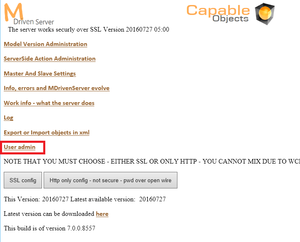
In the admin area, choose user admin:
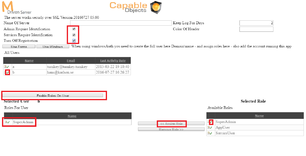
In UserAdmin, you can control the existing users on your MDrivenServer – we need an account to be used by your Turnkey site.
To tighten security for our MDrivenServer, we are going to:
- Assign the users we want to have access to the role SuperAdmin
- Check the box for Admin require Identification
- Check the box for Services require identification
Check the box for Turn off registration:
This way, we will enforce user identification and turn off the ability to register as a new user. It is important that you remember the password for the users you have – otherwise, you will be locked out.
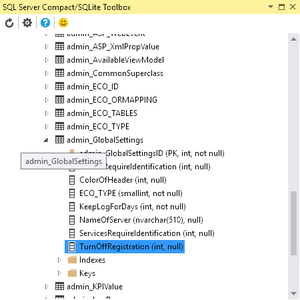
When you have accidentally locked yourself out, you can find the admin database, and open it with SqlServerCompact tools. Find table admin_GlobalSettings and set column TurnOffRegistration to 0 (false). Now, you may register a new user and regain control.
The database is located in __MDrivenServer\App_Data\DatabaseCompact.sdf
Now the MDrivenServer is fully configured and we will look at the MDriven Turnkey application that will use it.
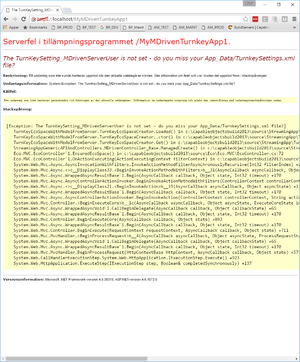
Pointing our browser at the Turnkey application will give us this: https://localhost/MyMDrivenTurnkeyApp1
The reason is that the Turnkey application expects to find a file with information about what user and password to use to access __MDrivenServer. The file should be in the App_Data folder and its name must be TurnkeySettings.xml.
As we see, there is a template file “TurnkeySettings – NotInEffect.xml” – copy this and name it “TurnkeySettings.xml”
This file is normally managed from the LicenseAndTicket website – but since we are now installing Turnkey locally, the LicenseAndTicket has no access to help us with this. We need to edit it manually.
Open the file and fill in the username and password you picked for MDriven:
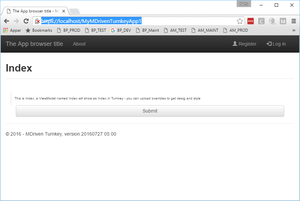
Once this is done, we try our app again (you must restart your app-pool so that the file is re-read):
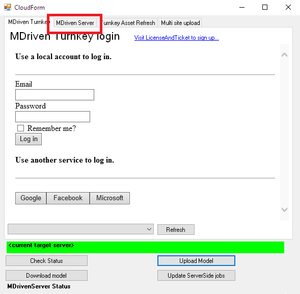
When we use MDriven Designer, we will also need to enter the address to our MDriven Server manually – so skip the first login page and go to the second page:
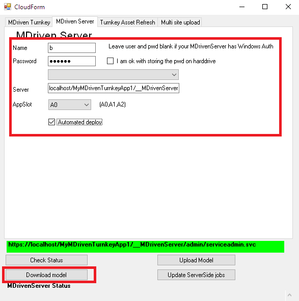
We must fill in the user and password that has access to MDriven Server. We need to say it is slot A0 and check “Automated Deploy” – that means an upload of the model is automatically deployed. The server address is the same one we use to access MDriven Server: https://localhost/MyMDrivenTurnkeyApp1/__MDrivenServer
And now we have everything set up to run the development loop or production in-house – nothing on in the cloud.
To update the site with fresh binaries for MDriven Turnkey or MDriven server, we can simply reapply fresh packages from the build server.
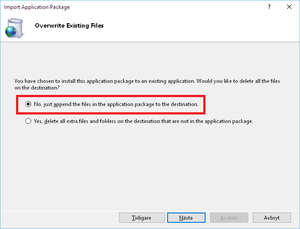
Just make sure to choose “Append files” – because if you “delete”, you will lose the settings we just set up and the database with any models.
The MDriven Book - See: MDriven Turnkey Architecture

