Installing MDriven Server on Windows
Installing IIS Services and its components
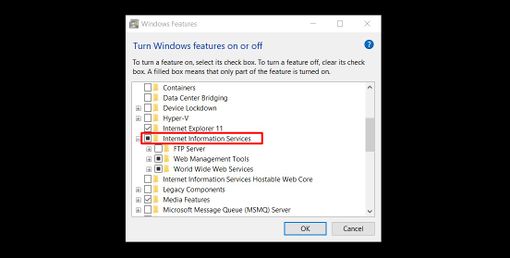
To install IIS Services on Windows 10 head to the Control Panel -> Programs and Features -> Turn Windows features on or off
You need to add:
- Internet Information Services
- ASP .NET 4.5 (or higher) and its components.
- Important! Under .Net Framework 4.5(or higher) Features -> WCF Services -> select HTTP Activation and TCP Port Sharing.
- After the installation of IIS you can start IIS Manager on your computer.
Setting up IIS Manager
- You should install Microsoft Web Platform Installer 5.0 - https://www.microsoft.com/web/downloads/platform.aspx
- After the installation, open WPI -> Products and install following components to IIS:
- Logging Tools
- Request Monitor
- Tracing
- Dynamic Content Compression
- Application Initialization
- Management Service
- IIS Management Scripts and Tools
- Basic Authentication, Windows authentication or another authentication service
- Web Deploy 3.6. (or download Web Deploy from Microsoft website - https://www.iis.net/downloads/microsoft/web-deploy) .
- After these steps restart IIS Manager.
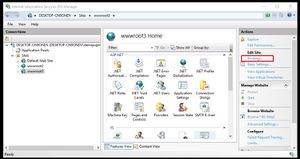
If you don't see "Deploy section" when you select an IIS site you need to repair or re-install Web Deploy 3.6.
Install MDriven Server & MDriven Turnkey
Add an Application Pool
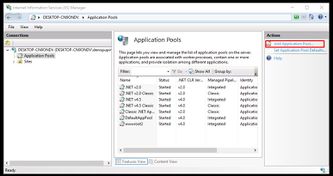
- Start IIS Manager and add an Application Pool
- Name your Pool and set it to .NET CLR 4.0 and Integrated pipeline mode.
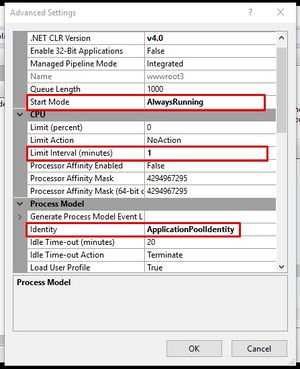
- Select an Advanced Settings and set:
- Start mode: AlwaysRunning
- Identity: <choose what suits your needs>
- Limit interval: 1
Add a certificate for SSL
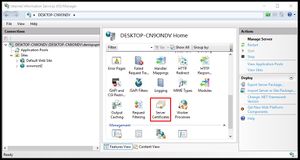
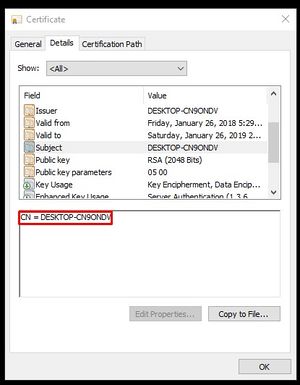
- In ISS Manager select Server Certificates and create Self-Signed Certificate.
- On the Default web site, add https binding for port 433 and select the certificate needed.
Installing of MDriven Server and MDriven Turnkey
- Add an application and give a descriptive name. Select the Application Pool which you created earlier.
- Create an application with your name ("MyTurnkeyApp)
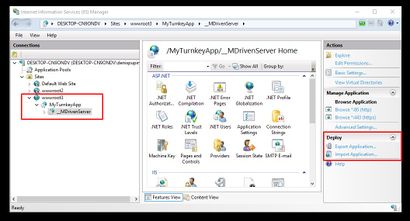
- Create another application under “MyTrunkeyApp” called “__MDrivenServer” (double underscore) so that it ends up like this: “MyTurnkeyApp/__MDrivenServer”
- Use the deploy function to import the application MDriven Server & MDriven Turnkey which you download from the Capable Objects site. The installer will not overwrite your existing database if this is an upgrade.
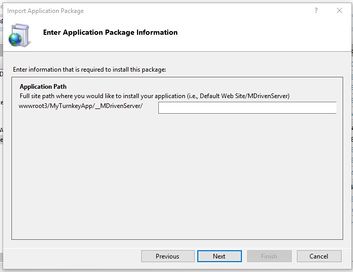
Note: During installation of MDriven Server or MDriven Turnkey app, if you created the structure before, keep "application path" field empty to save the needed folders' structure.
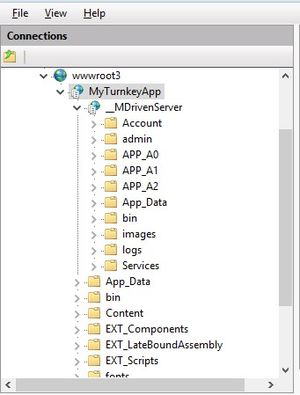
- As a result you will get the ext application structure
Setting up MDriven Server
Now, you can open your MDrivenServer in a browser via link
https://localhost/<Your_application_name>/__MDrivenServer/
Important! You have to change "localhost" in a link to your machine name because actually, you aren't "localhost".
This page was edited more than 9 months ago on 05/22/2024. What links here

