🚀 Welcome to MDriven Learn –  MDriven is now on Discord!  Don’t miss the latest Release Notes.
Chapter 7 Images
This page was created by Stephanie on 2024-09-04. Last edited by Wikiadmin on 2026-07-29.

This page is the visual reference for learners completing Chapter 7 of the MDriven training; use the numbered images here alongside the matching instructions in the Chapter 7 training material.

How to use this visual reference

  1. Find the step number in the Chapter 7 training instructions.
  2. Open the image with the same step number on this page.
  3. Click an image to view it in full size when you need to inspect labels, controls, or the marked sequence.
  4. Follow arrows and numbered callouts in the displayed image in their shown order.

For example, when the training text refers to Step 218, use the Step 218 image below and perform the actions indicated by callouts 1, 2, and 3.

Chapter 7 image sequence

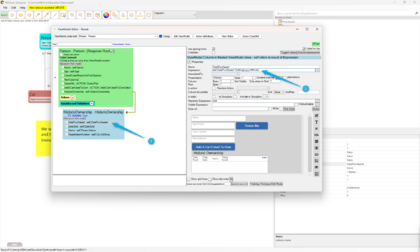
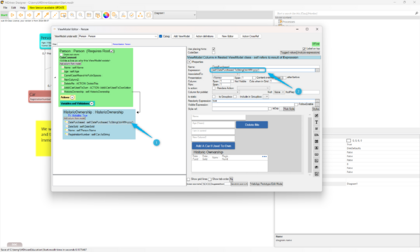
The images are arranged in the order used by the training. An arrow (➡️) indicates that the image contains a directional annotation. Numbered markers indicate the order of actions within that image.

Steps 215–223

Training step Visual annotation
Step 215 Image reference
Step 216 Directional annotation (➡️)
Step 217 Image reference
Step 218 Numbered annotations: 1, 2, 3
Step 219 Image reference
Step 220 Directional annotation (➡️)
Step 221 Directional annotation (➡️)
Step 222 Directional annotation (➡️)
Step 223 Numbered annotations: 1, 2, 3, 4

Steps 225–232

Training step Visual annotation
Step 225 Image reference
Step 226 Image reference
Step 227 Directional annotation (➡️)
Step 228 Directional annotation (➡️)
Step 229 Image reference
Step 230 Image reference
Step 231 Directional annotation (➡️)
Step 232 Two illustrated alternatives: Option 1 and Option 2

Steps 233–238

Training step Visual annotation
Step 233 Directional annotation (➡️)
Step 234 Directional annotation (➡️)
Step 235 Image reference
Step 236 Image reference
Step 237 Numbered annotations: 1, 2, 3
Step 238 Numbered annotations: 1, 2, 3

Notes about the sequence

  • Step 224 does not have a corresponding image reference on this page. Continue with the training instructions and use the next available visual reference, Step 225.
  • At Step 232, compare the image labelled Option 1 with the image labelled Option 2. Follow the option required by the accompanying Chapter 7 instructions; this image page does not define when to select either option.
  • The arrows and numbered markers are part of the images. They identify locations and action order, but the underlying action text belongs in the Chapter 7 training instructions.

Continue the training

After completing the Chapter 7 steps, continue with Training:Chapter 8 Images. For earlier visual references, return to Training:Chapter 6 Images.

See also